


In today’s digital landscape, websites are no longer just static pages of text and images. They are dynamic systems that interact with users, store information, and provide personalized experiences. At the heart of this interactivity lies the database. A database is where information is stored, retrieved, updated, and deleted, enabling websites to function more like living applications than digital brochures.
If you have ever signed up for a website, posted a comment, or shopped online, then you’ve interacted with a website that communicates with a database. Understanding how this connection works is a crucial skill for any aspiring web developer. This guide will walk you through the process of connecting a website with a database in a way that is both simple and detailed, so even beginners can follow along.
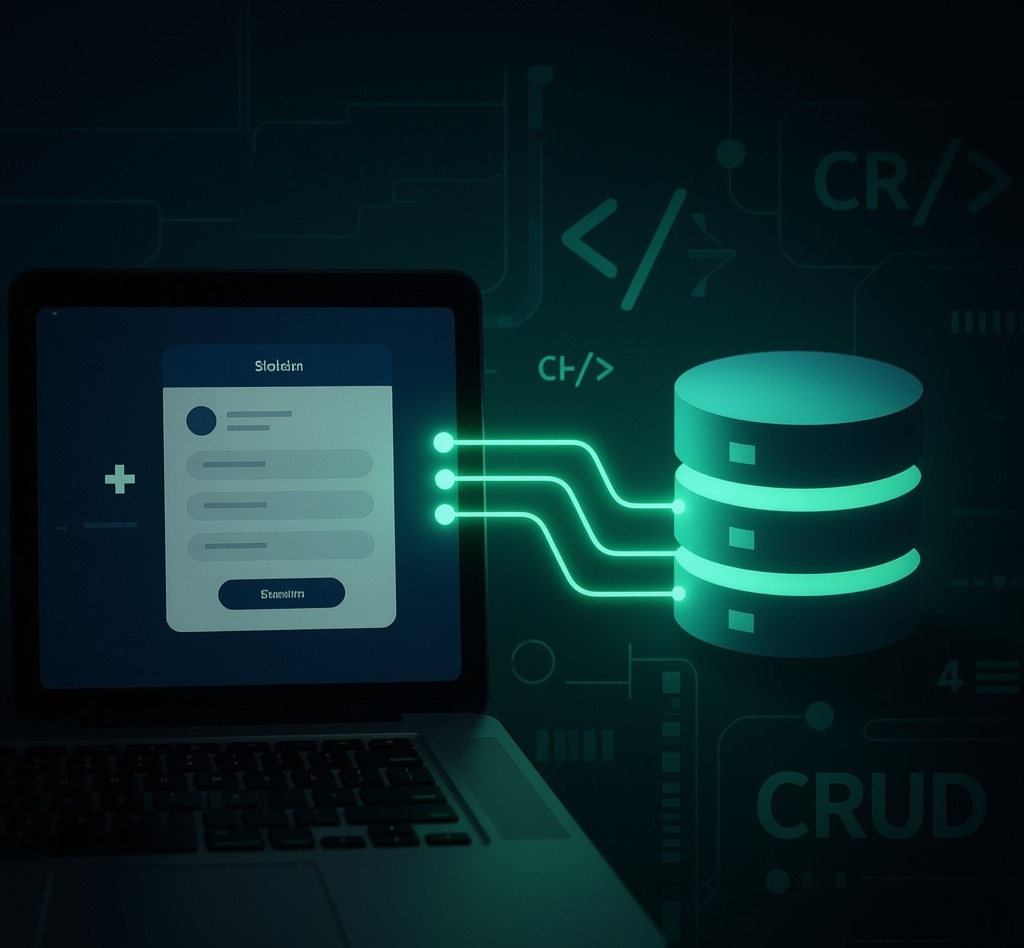
Understanding the Role of Databases in Web Development
A database is essentially an organized collection of information. Think of it as a digital filing cabinet, but far more powerful. Instead of sifting through physical folders, you can query a database and instantly retrieve the exact information you need. In web development, databases are used to store things like user accounts, product listings, blog posts, or financial transactions.
The connection between a website and a database makes a site dynamic. Unlike a static website, where content never changes unless the developer updates the HTML manually, a dynamic website can update its content in real-time based on what is stored in the database. This is what allows platforms like Facebook, Twitter, or e-commerce sites to operate smoothly.
To understand how databases interact with websites, it helps to learn about CRUD operations. CRUD stands for Create, Read, Update, and Delete, which are the four fundamental actions you can perform on data in a database. Create means adding new data, like registering a new user. Read is retrieving data, such as loading a list of articles. Update is modifying existing data, like changing your profile picture. Delete is removing data, such as deleting a comment. Every database-driven website you use today is built on these four actions.
Setting Up the Environment
Before we connect a website to a database, a few tools are necessary. You will need a basic website built with HTML and CSS. To handle the database connection, you also need a server-side language such as PHP or Node.js with Express. Finally, you need a database system. MySQL is one of the most widely used relational databases and is beginner-friendly, while SQLite is a lighter option that doesn’t require much setup.
Once you have installed these tools and set up your development environment, you are ready to create a database. Let’s imagine we are building a simple website that manages users. In MySQL, you could create a table like this:
CREATE TABLE users (
  id INT AUTO_INCREMENT PRIMARY KEY,
  name VARCHAR(100),
  email VARCHAR(100)
);
This creates a table called “users” with three columns: an id that uniquely identifies each user, a name field, and an email field.
Connecting the Website to the Database
The next step is establishing the connection. Let’s start with PHP, which is often recommended for beginners because it integrates well with MySQL.
<?php
$servername = "localhost";
$username = "root";
$password = "";
$database = "mydatabase";

$conn = new mysqli($servername, $username, $password, $database);

if ($conn->connect_error) {
  die("Connection failed: " . $conn->connect_error);
}
echo "Connected successfully";
?>
This code creates a connection to the MySQL database. The parameters include the server name, username, password, and the database name. If the connection fails, PHP will output an error message. If it succeeds, it will confirm with the message “Connected successfully.”
If you prefer JavaScript, you can use Node.js with the Express framework. Here is how the connection looks:
const mysql = require('mysql2');

const connection = mysql.createConnection({
  host: 'localhost',
  user: 'root',
  password: '',
  database: 'mydatabase'
});

connection.connect(err => {
  if (err) throw err;
  console.log('Connected to database!');
});
This snippet accomplishes the same thing as the PHP example but uses Node.js.
Fetching Data from the Database
Once the connection is established, the real power comes from being able to retrieve information. For example, let’s say you want to display all users from the database on a webpage.
In PHP, this looks like:
$result = $conn->query("SELECT * FROM users");

while($row = $result->fetch_assoc()) {
  echo "Name: " . $row["name"]. " - Email: " . $row["email"]. "<br>";
}
This code sends a query to the database asking for all users. It then loops through each record and displays the name and email on the webpage.
In Node.js, the same operation looks like this:
connection.query("SELECT * FROM users", (err, results) => {
  if (err) throw err;
  results.forEach(user => {
    console.log(`${user.name} - ${user.email}`);
  });
});
This query fetches all users and prints each one to the console.
Adding Data Through a Form
A website isn’t complete if users can’t add their own information. Imagine a form where someone enters their name and email to register. In HTML, the form looks like this:
<form action="insert.php" method="post">
  Name: <input type="text" name="name"><br>
  Email: <input type="text" name="email"><br>
  <input type="submit" value="Submit">
</form>
In PHP, you would handle the form submission like this:
<?php
$name = $_POST['name'];
$email = $_POST['email'];

$sql = "INSERT INTO users (name, email) VALUES ('$name', '$email')";
if ($conn->query($sql) === TRUE) {
  echo "New record created successfully";
} else {
  echo "Error: " . $sql . "<br>" . $conn->error;
}
?>
This script takes the submitted name and email, inserts them into the database, and confirms if the insertion was successful.
In Node.js with Express, the process looks like this:
app.post('/adduser', (req, res) => {
  const { name, email } = req.body;
  const sql = "INSERT INTO users (name, email) VALUES (?, ?)";
  connection.query(sql, [name, email], (err, result) => {
    if (err) throw err;
    res.send('User added successfully!');
  });
});
This code listens for a POST request at the “/adduser” endpoint, then inserts the provided data into the database.
Best Practices for Connecting Websites to Databases
While connecting a website to a database may seem straightforward, there are best practices that ensure security and efficiency. First, never expose database credentials directly in your code. Instead, store them in environment variables. Second, always use prepared statements when inserting or updating data. This prevents SQL injection attacks, which are one of the most common vulnerabilities in web applications. Finally, think about scalability. As your website grows, the way your database is structured will significantly affect performance.
Connecting a website with a database is one of the most important steps in moving from beginner to intermediate web development. It transforms static pages into interactive platforms capable of storing, retrieving, and managing data. By learning how to set up a database, connect it to your website using a server-side language, perform CRUD operations, and follow best practices, you are building the foundation for more advanced projects such as e-commerce sites, blogs, or even social networks.
The beauty of this process is that once you grasp it, the possibilities are endless. You could create a portfolio site that manages your projects, a blog that stores and displays posts dynamically, or a business application that handles customer data. This is the real turning point where you stop consuming static code and start building living systems.